Podcasts are a great way of sharing your views, opinions and hobbies with the world, and subscribers can listen to your words of wisdom while they drive to work or get on with housework. By hosting your podcast on a Raspberry Pi at home, you have ultimate control over the content. Here’s how to do it.
Why Host Your Own Podcasts on Raspberry Pi?

Anyone can create a podcast. All you need is a topic on which you can wax lyrical for an extended period, and some recording equipment. You can even record podcasts on an Android phone[1].
Obviously, if your production values are higher, you may want to invest in a high-quality microphone for podcasting[2], and there’s an array of great tools to make your podcast more polished[3]. But fundamentally, podcasting is a low-budget affair.
The only real exception to this is hosting. Streaming audio over the internet requires bandwidth, and bandwidth costs money.
In order to get your fascinating diatribes out to your waiting fans, you have three options:
- You can use a paid-for podcast hosting service[4].
- You can host your podcast for free on Spotify. While this may seem like a good idea, you’re locking yourself and your words into a walled garden, and cutting off listeners who don’t use the platform.
- You can host your own podcast on your own Raspberry Pi hardware in your own home.
dir2cast is a simple PHP tool which scans the metadata of audio files in your podcast directory, and creates an RSS feed which users can subscribe to either directly, or through a third-party service such as iTunes.
Prepare Your Podcasts!
dir2cast takes embedded information from your audio files to create an RSS feed, so you need to make sure that your podcast has that information embedded in the ID3 tags. There are several great MP3 tag editors[5] available.
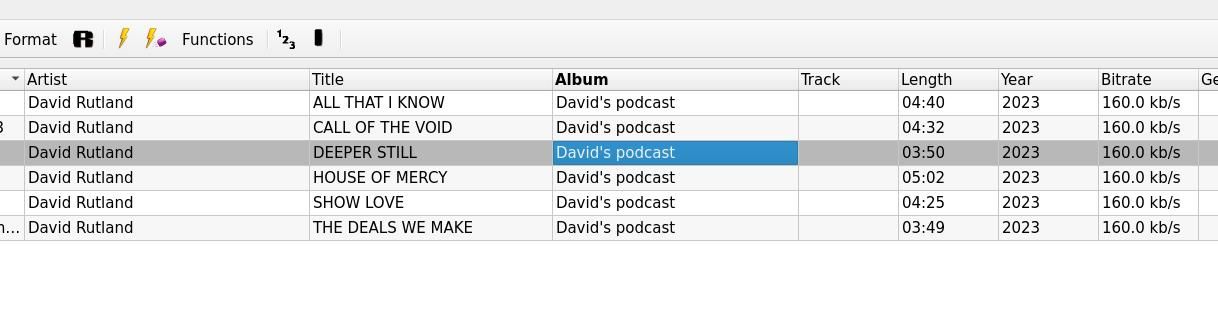
You’ll want to set the title of the podcast, the date, and a description of the episode. You can also set individual images for each track.
How to Install dir2cast on Raspberry Pi

To begin, follow our essential guide to setting up your Raspberry Pi as a web server[6].

Once your Pi web server is functioning, head over to your domain registrar and create a new record. Set the type to A, the host to “@“, and the value to your public IP address. The TTL should be as low as possible.
Back on the Raspberry Pi command line, install the PHP XML extension:
sudo apt install php-xml
Create a new directory for your podcasts:
sudo mkdir /var/www/podcasts/
…and give ownership to the Apache user:
sudo chown www-data:www-data /var/www/podcasts/
Use the cd command to change directory:
cd /etc/apache2/sites-available/
Create a new config file for Apache:
sudo nano podcasts.conf
In the new file, paste the following:
 <VirtualHost *:80>

    ServerName muo.lol
    DocumentRoot /var/www/podcasts/</VirtualHost>
You should replace muo.lol with your actual domain name.
Save and exit nano with Ctrl + O then Ctrl + X, then enable your new conf file and restart Apache.
 sudo a2ensite podcasts.conf
sudo service apache2 restart
It’s good practice to secure the connection with HTTPS[7]. You can use Certbot for this:
sudo certbot
Select your domain name from a list and press Enter. Certbot will fetch and deploy certificates and keys used to secure your site, as well as configuring Apache to upgrade all connections to HTTPS with an SSL certificate[8] .
Restart Apache once more to allow the changes to take effect.
sudo service apache2 restart
If you visit your site in a web browser, there won’t be any content, but you’ll see a padlock in the URL bar indicating the connection is secure.
With that out of the way, jump back into the terminal, and move back to your home directory:
cd
Now use Git to clone the dir2cast repository and the cd command to move into it
git clone https://github.com/ben-xo/dir2cast.git && cd dir2cast
There are some files and folders in here that you need to copy to the podcasts directory you created earlier:
sudo cp -r dir2cast.* test/ getID3/ /var/www/podcasts/
Use dir2cast to Host Podcasts on Raspberry Pi!
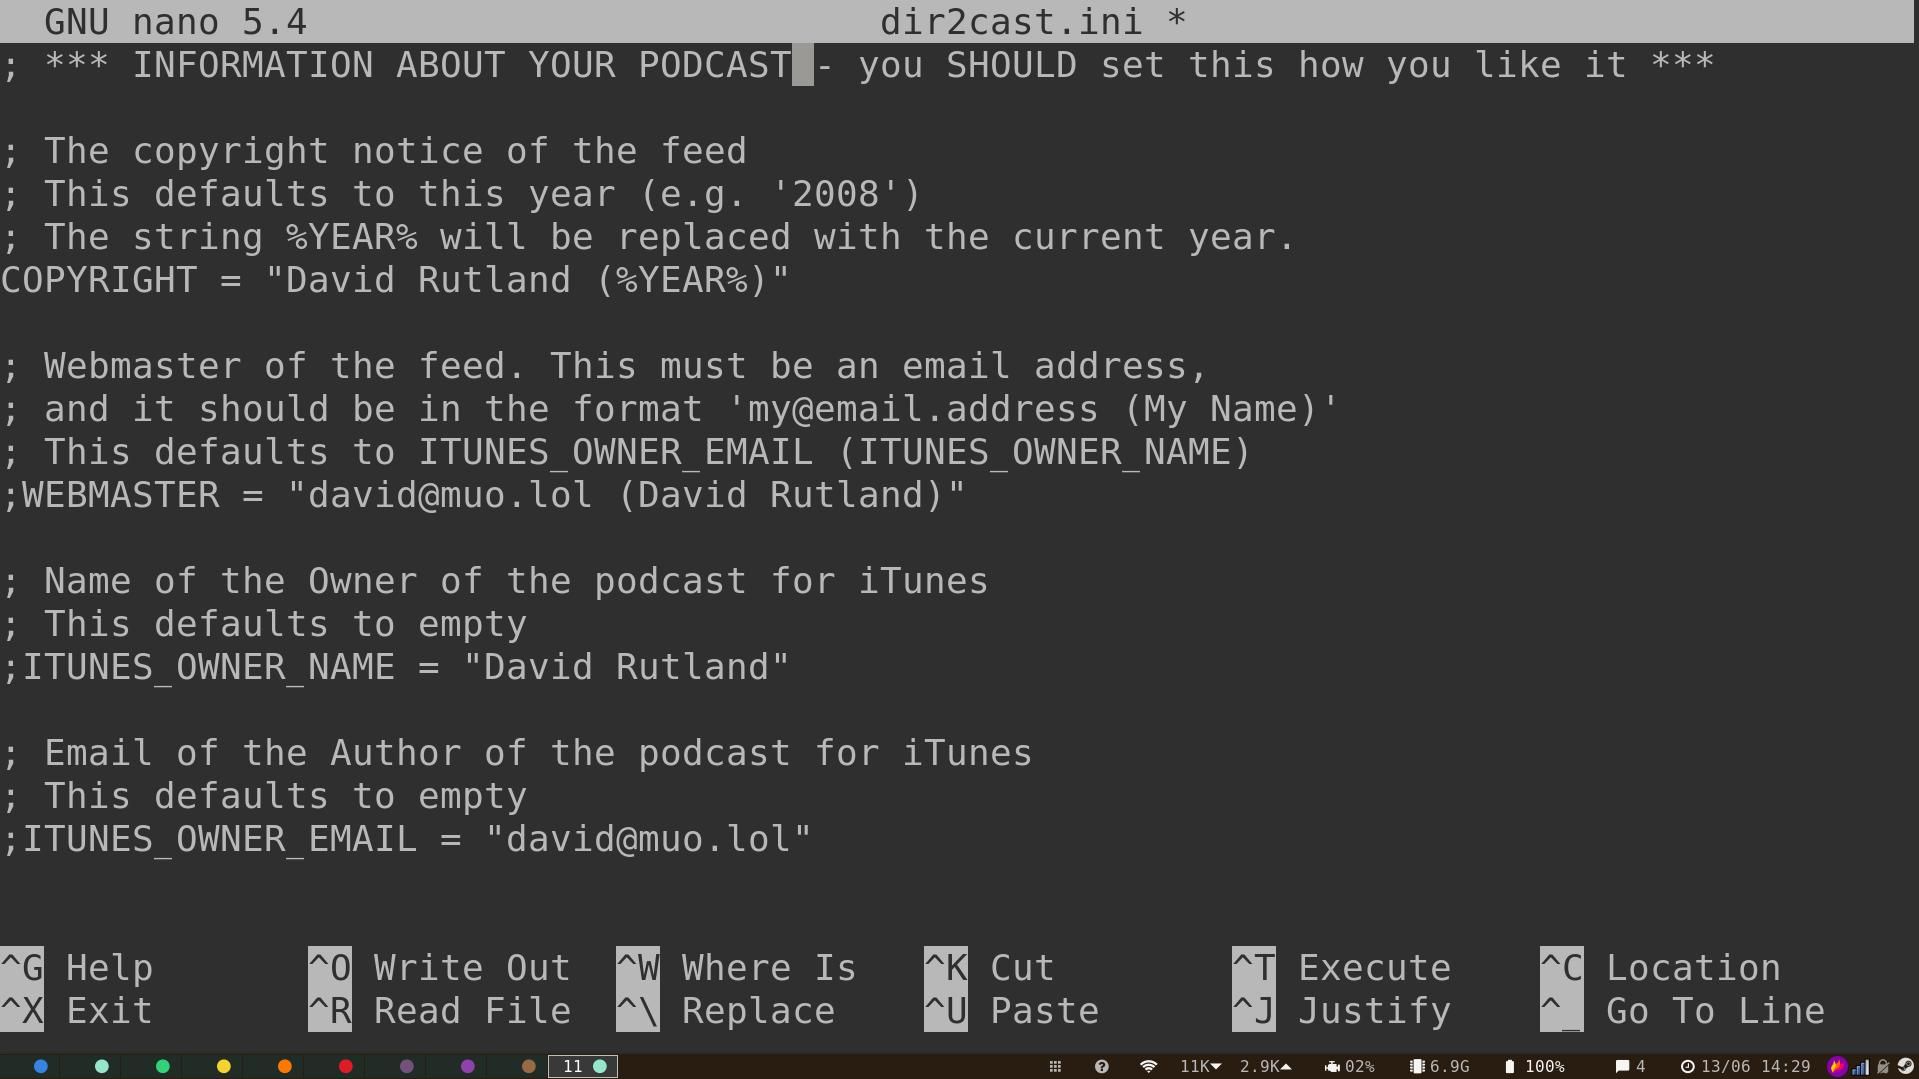
dir2cast is now installed, and will work as-is, but will generate an RSS feed with the wrong information. Use the nano text editor to edit the dir2cast.ini file.
sudo nano /var/www/podcasts/dir2cast.ini
You can also change the name of the PHP file to make your URL easier to remember
sudo mv /var/www/podcasts/dir2cast.php /var/www/podcasts/index.php
There are many options for how you want your podcast to behave, and your directory structure laid out, but it’s safe to ignore most of these for the moment.
Look for the INFORMATION ABOUT YOUR PODCAST section. You’ll want to set the copyright, your name, and your email address if you plan to allow listeners to subscribe through iTunes.
There are a host of other details you can set—although you don’t have to. These include a description of your show, whether it contains mature themes or language, and whether to embed cover art in the feed. When you’re happy, save and exit nano with Ctrl + O then Ctrl + X.
To generate your RSS feed, all you need to do is copy the MP3 file to your podcasts directory:
sudo cp podcast-file.mp3 /var/www/podcasts/
If you want your directory structure to be more organized, you can create any number of subdirectories for your audio files. But you’ll need a copy of php2cast.ini in each of them.
You will also need to uncomment the RECURSIVE_DIRECTORY_ITERATOR = true line in dir2cast.ini.
dir2cast regenerates the feed whenever new content is added to its directory, but waits several minutes to make sure copying is complete.
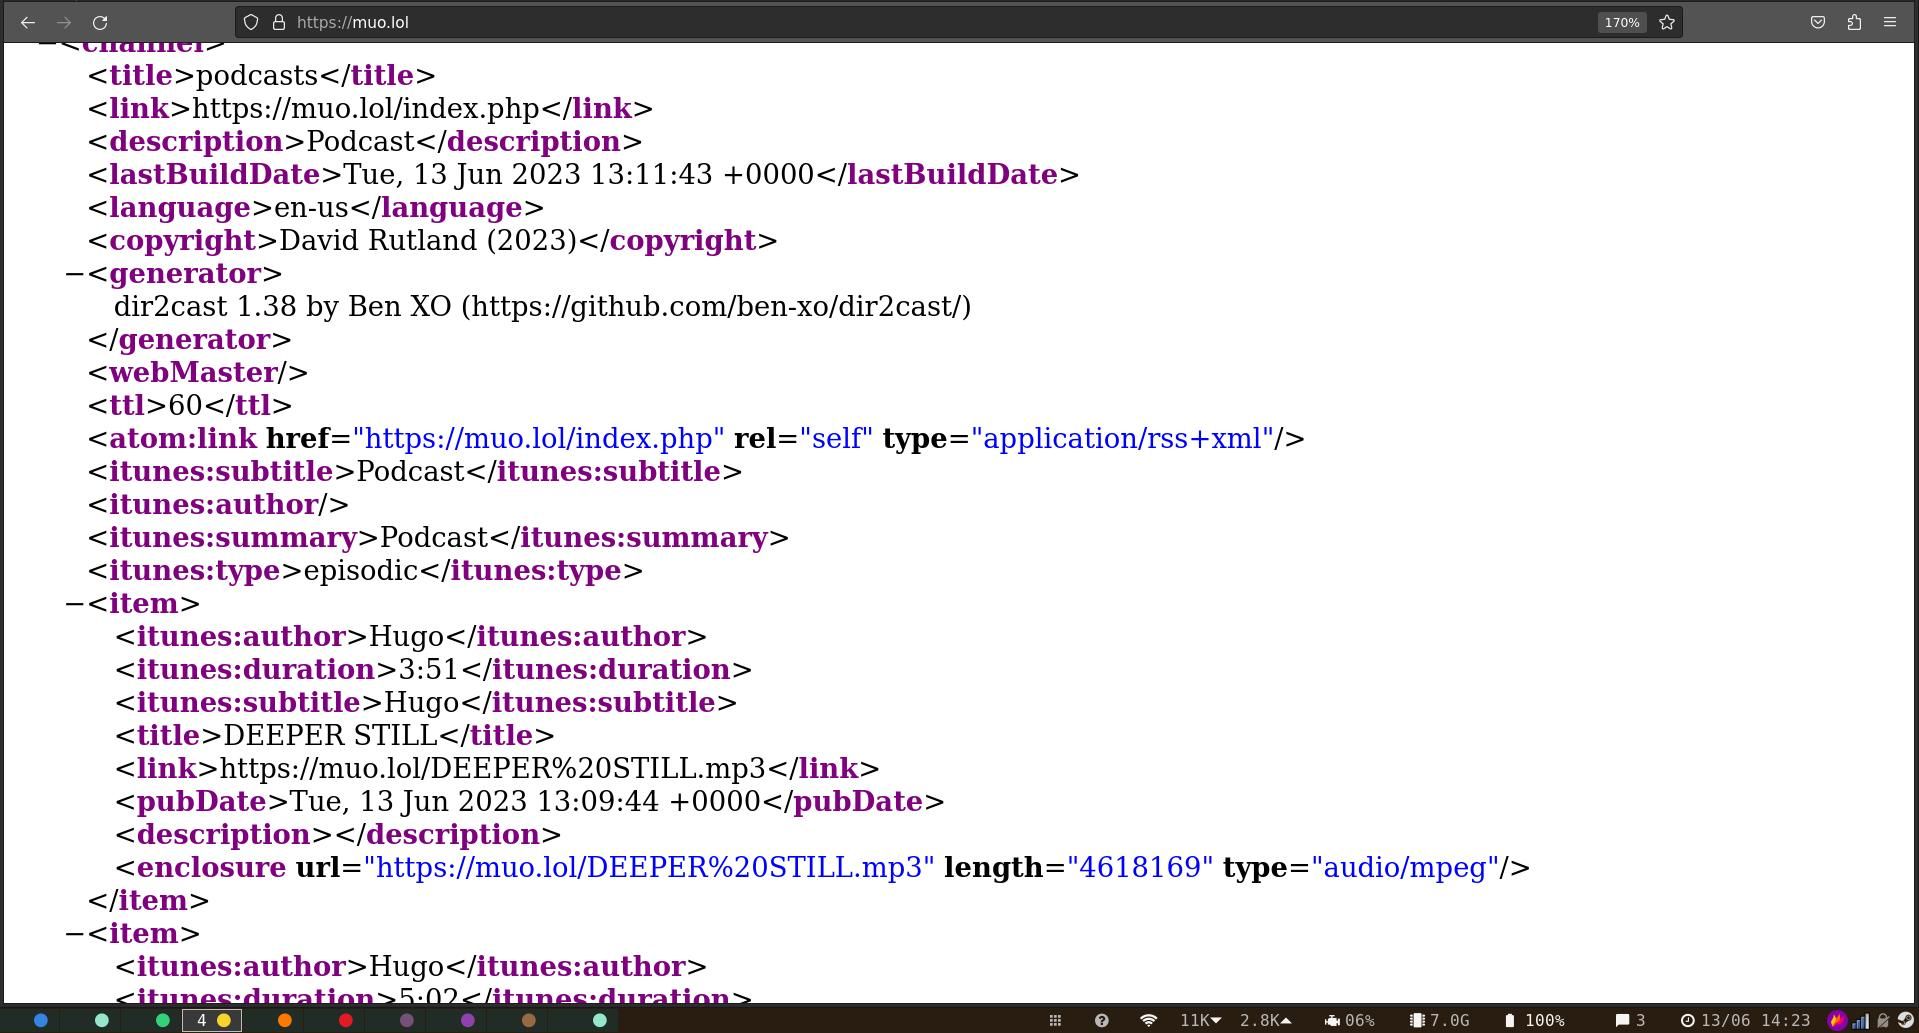
Go and make a cup of tea, then visit your domain name in your browser. You’ll see an XML file containing the URL of each podcast episode, plus any details you specified in the ID3 tags or dir2cast.ini file. This will update each time you add a new episode. It’s that simple.
Test Out Your Self-Hosted Podcast
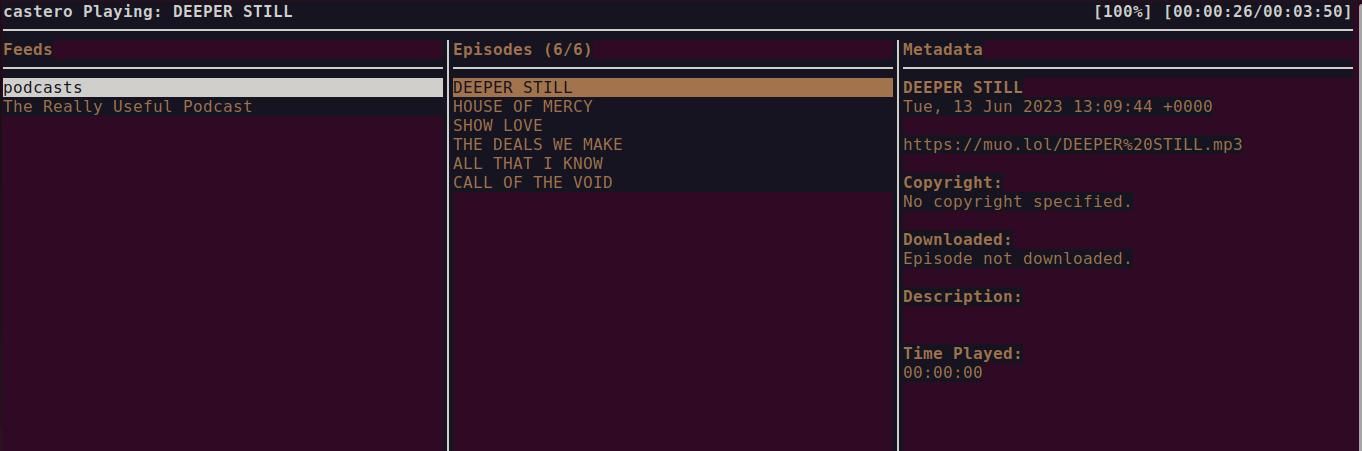
Before you unleash your self-hosted podcast onto the world, it’s a good idea to make sure it works. Copy the URL of your RSS feed, paste it into your favorite podcast client, and listen to your own voice on your own favorite subject. There are podcast clients available for every major platform
References
- ^ record podcasts on an Android phone (www.makeuseof.com)
- ^ high-quality microphone for podcasting (www.makeuseof.com)
- ^ great tools to make your podcast more polished (www.makeuseof.com)
- ^ use a paid-for podcast hosting service (www.makeuseof.com)
- ^ MP3 tag editors (www.makeuseof.com)
- ^ guide to setting up your Raspberry Pi as a web server (www.makeuseof.com)
- ^ secure the connection with HTTPS (www.makeuseof.com)
- ^ upgrade all connections to HTTPS with an SSL certificate (www.makeuseof.com)