React is a popular JavaScript library for building functional user interfaces in dynamic web applications. Maybe you’ve spent many a long hour, debugging React code in an attempt to build the next Instagram or Airbnb.
Regardless of what you’re building, the end goal is always to showcase your work to the world. This is where hosting platforms such as Netlify come in handy. They provide a suite of tools that streamline the deployment process.
Follow along to learn how to deploy your React applications using Netlify’s easy-to-use deployment tools.
What Is Netlify?
Netlify is a cloud-based development platform with features that make hosting and deploying applications on the web a lot easier. Simply put, it provides a range of tools and services that streamline and simplify the process allowing you to deploy and host a web application within seconds.

Netlify’s Main Features
Netlify has a range of features that simplify the deployment process.
- It provides essential access and version control features to enable development teams to collaborate efficiently and effectively on projects.
- It offers secure hosting services that you can adjust to suit your needs. Additionally, it provides automated backups in case of data loss.
- It integrates seamlessly with popular cloud development services such as GitHub, GitLab, and Bitbucket.
- It provides features that make it easy to set up and configure a custom domain URL and an SSL certificate for your application.
Create a Demo React Application
- To get started, you will need to first create a demo React application[1] which you will eventually deploy on Netlify. Run the command below on your terminal to create a React application:
npx create-react-app demo-react-netlify-app - Next, run this terminal command to spin up the development server:
npm startGo ahead and view the results in your browser at http://localhost:3000.
- Finally, run this command to create a production-ready version of your application:
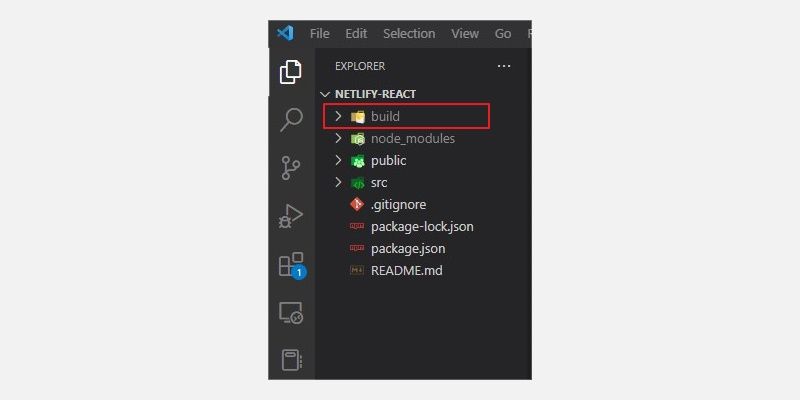
npm run buildThis command generates the required production files and assets inside a new folder in the root directory called, build. The build folder captures a minified version of the entire application, containing everything required to deploy the application.
Deploy the React Application on Netlify
Netlify provides three methods that you can use to deploy your React application. You can:
- Import your project from a Git repository host such as GitHub.
- Use the Drag and Drop Feature.
- Use the command line tool, Netlify’s CLI.
Deploy Using GitHub Import Feature
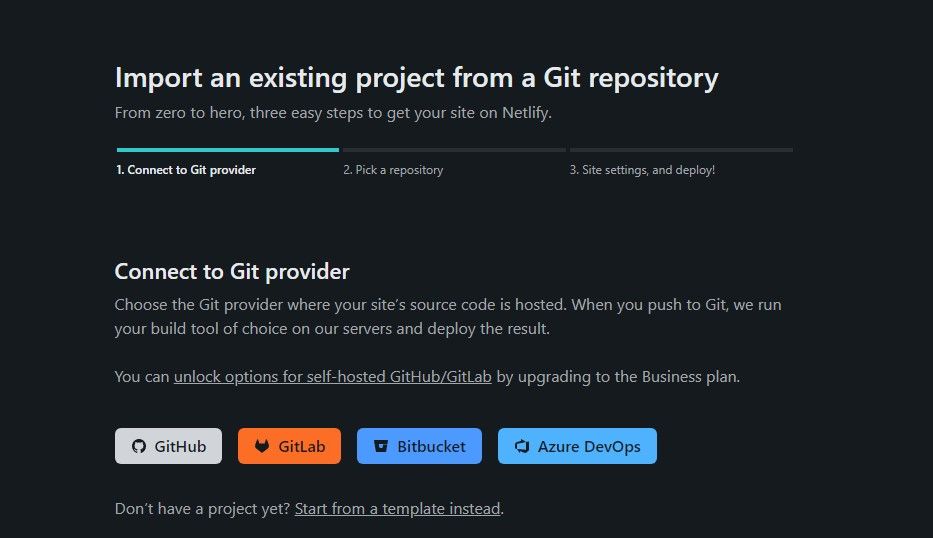
- Start by creating a repository on GitHub[2] to house your React application project files. Alternatively, you can also host your project files on any other supported Git provider such as GitLab, Bitbucket, or Azure DevOps.
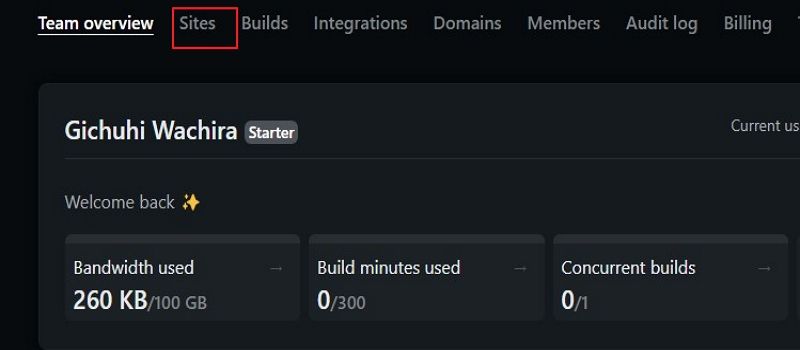
- Next, sign up for an account on Netlify[3]. Once you sign up, navigate to your account dashboard and select the Sites tab.
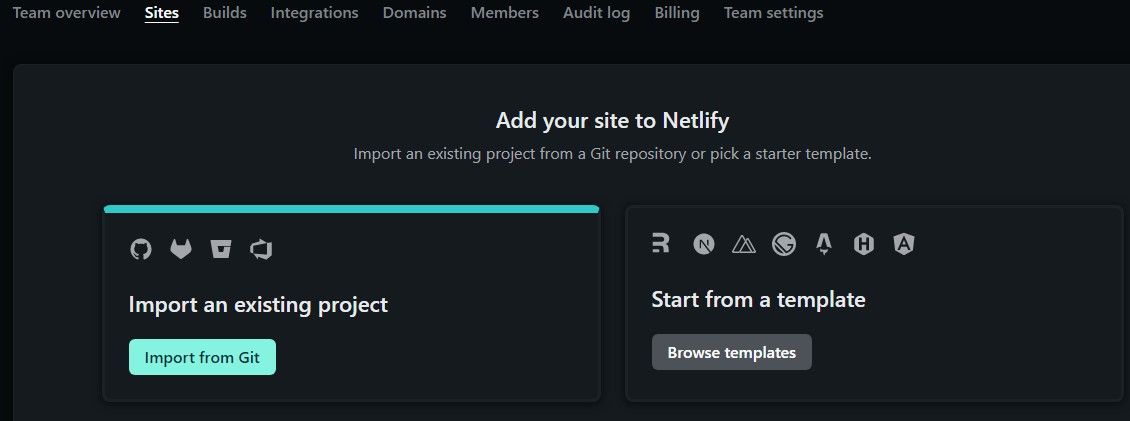
- Click on the Import from Git button.
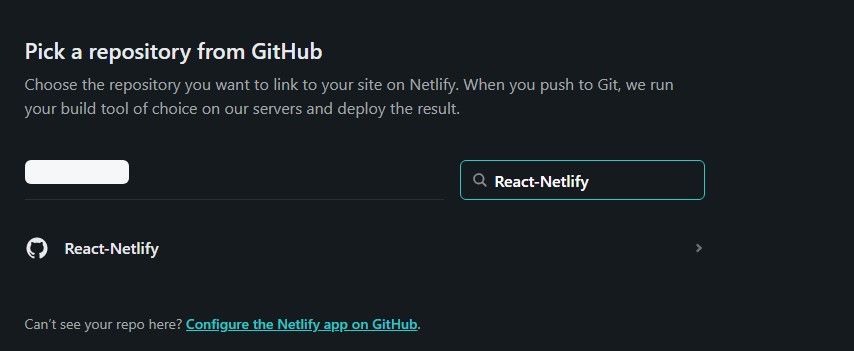
- Select your Preferred Git provider platform. Netlify will prompt you to authenticate with your Git provider to grant it access to your account and repositories.
- Once you’ve done this, Netlify will display a list of repositories on your Git provider. Select the React project repository you initially pushed to your Git provider.
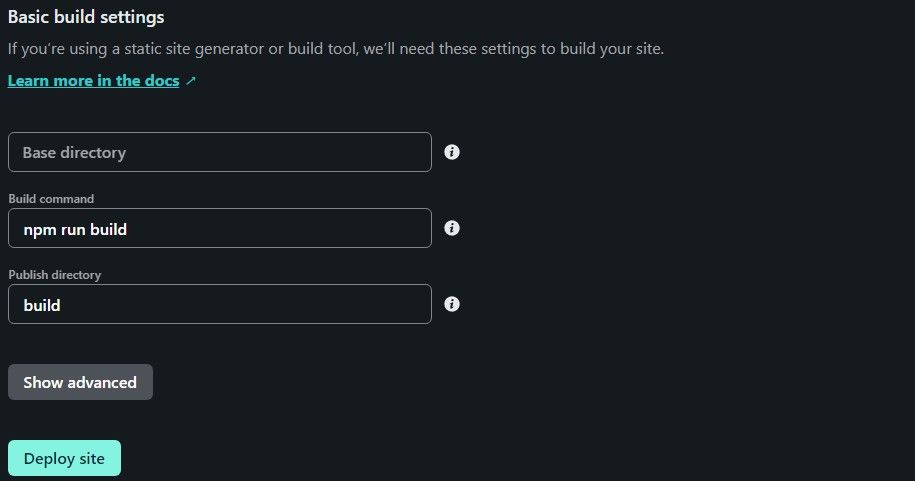
- After selecting the repository, you need to specify how Netlify should handle the deployment process. Usually, for static websites, you don’t have to make any changes, however, for dynamic websites such as React applications, you will have to set the build settings. Luckily, Netlify by default auto-detects the framework used to build the application and populates the fields with the required build settings.
- Finally, click Deploy site to finish the process.
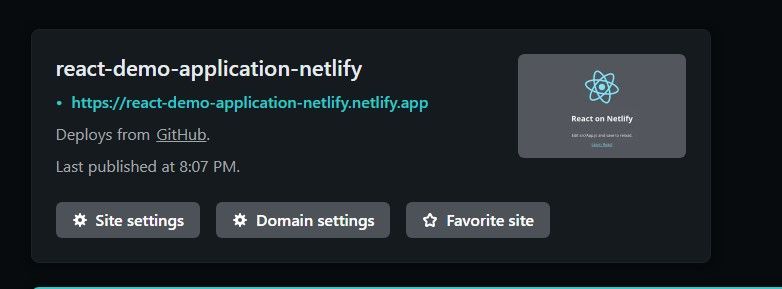
Click on the provided URL to view the application on your browser. If you have a custom domain URL, you can instruct Netlify to use it with your site by updating the URL from the site’s settings.
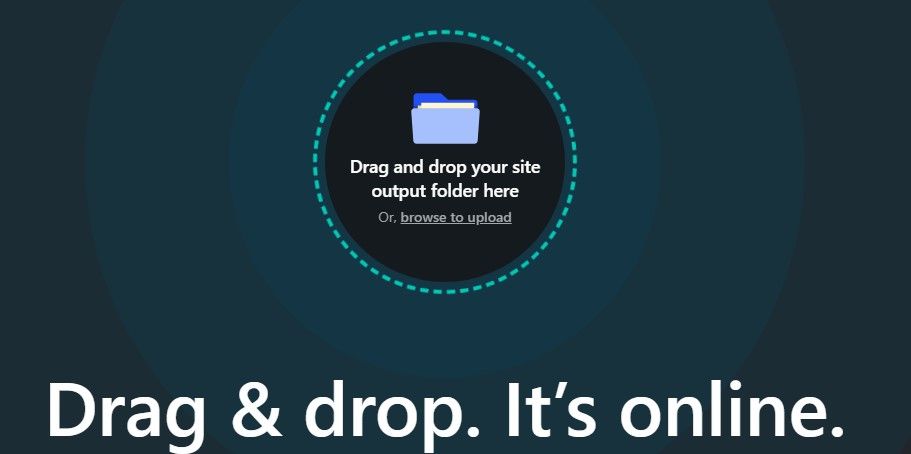
Deploy Using the Drag and Drop Feature
This is the simplest method to deploy your React application on Netlify. You only need to drag and drop the build folder into Netlify’s drag-and-drop user interface.
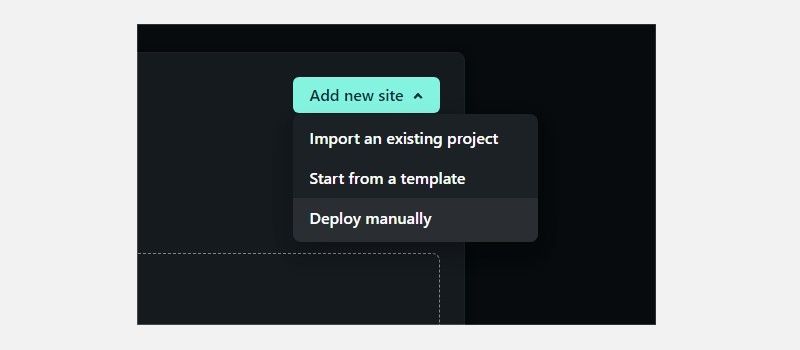
- On Netlify’s dashboard, select the Site tab. Next, click on Add new site and then select Deploy manually from the drop-down menu options.
- In the drag-and-drop feature page, select the folder containing the React build files and drop it into this user interface. The project will instantly deploy on Netlify.
Alternatively, you can click on Browse to upload to select your build folder from the file system.
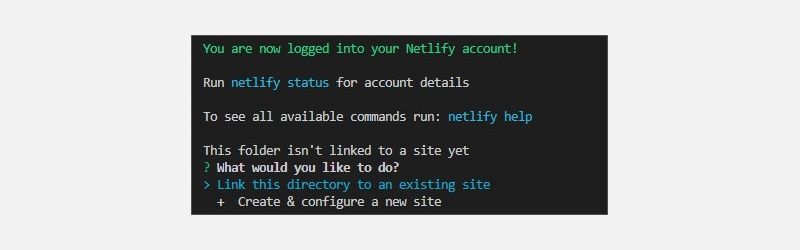
Deploy Using Netlify’s Command Line Interface
Using Netlify’s command line interface (CLI), you can deploy your React application directly from a terminal. Additionally, Netlify’s CLI allows to you can configure continuous deployment so that when you commit and push new updates to your Git repository, they are automatically deployed.
- Run the command below on your terminal to install Netlify’s CLI:
npm install netlify-cli -g - Now, run the command below to deploy your application. Make sure you are in the project’s working directory before deploying.
netlify deployNetlify’s CLI will prompt you to allow it to make changes to your account. After you grant the permission, provide the name of the team account which you gave when signing up, then choose whether to link the app’s directory to an existing website or to create and configure a new one. Finish by providing a custom website name and your build folder name.
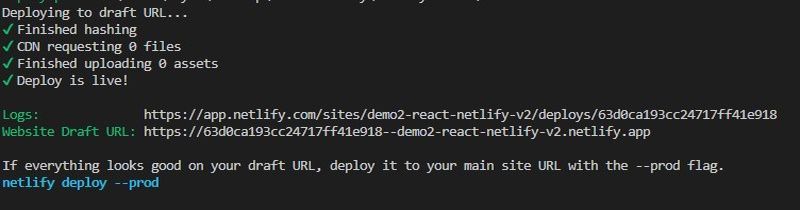
- The CLI will deploy a draft version of your application. Check that everything works as expected.
- Finally, run the command below to deploy your application to production.
netlify deploy --prod
Comparing the Three Deployment Methods
The GitHub import method is the most efficient for deploying production apps since it enables you to link your Git repository directly to Netlify and keep your code in sync with their live website or application. When you commit and push changes to your Git repository, Netlify will automatically update the website.
The drag-and-drop method is simpler for deploying static sites, as it requires no coding or setup. However, it does not allow for automatic updates when you make changes to your repository.
The CLI method is the most comprehensive, as it gives you full control over the deployment process and allows for custom configurations. This method is best suited if you already have a strong understanding of Netlify and are comfortable working with the command line.
All three methods are useful for deploying apps to Netlify. Ultimately, the choice of which to use will depend on the needs of each individual project.
Using Netlify to Deploy Other Applications
Netlify is a powerful and versatile tool that you can use to deploy applications other that just React. You can use it to deploy and host static websites and dynamic applications built with different frameworks like Angular.
The user-friendly interface makes it easy to configure, manage, and deploy your APIs.
References
- ^ create a demo React application (www.makeuseof.com)
- ^ creating a repository on GitHub (www.makeuseof.com)
- ^ Netlify (www.netlify.com)